Some important productivity suggestions for streamlining your project.
Writing a personal history is a BIG project, and an important one. You may experience a lot of stops and starts along the way, so it’s going to be important to set up some systems before you go any further.
If you don’t set up an organizational system, you will end up re-tracing your steps, misplacing documents, and doing things twice when you don’t need to.
Here are some basics to consider as you are setting up to digitize and preserve all of your photographs and begin writing your story:
1. Store Things Where You Can Find Them
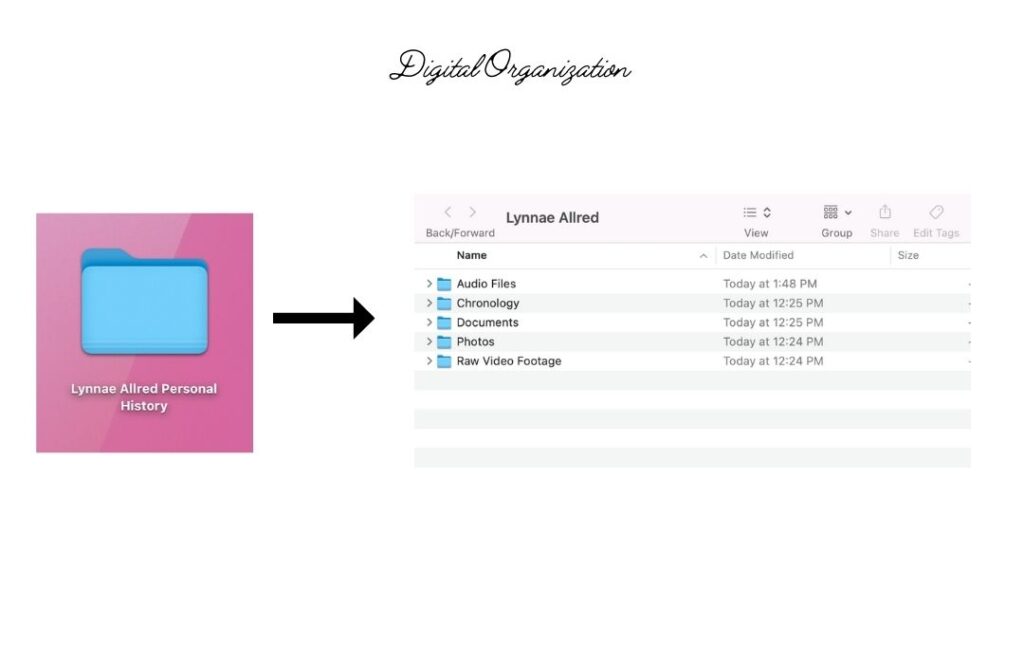
My first step when I’m creating a Personal History for a client is to create a storage folder right on my desktop. All of my files, photos, documents, audio recordings, transcripts, manuscripts, and notes will live in this folder. I create sub-folders inside of the main folder to organize different types of files into different folders.
2. Decide Where Your Physical Documents Will Live For the Duration of Your Project
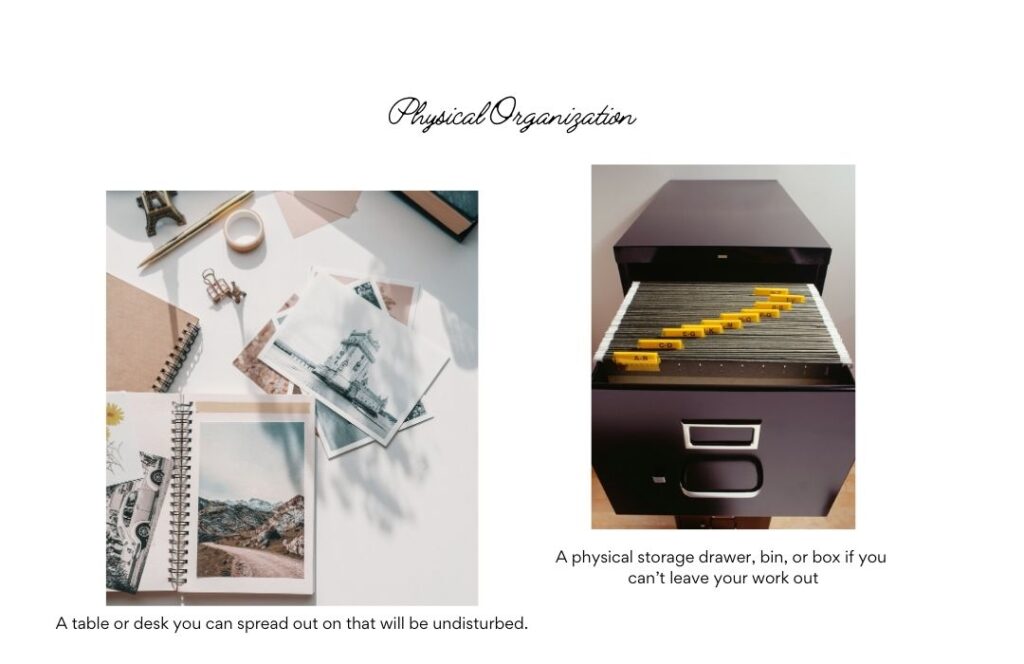
If you have the luxury of turning a card table, a desk, or even a room of your home into your undisturbed physical workspace, that’s ideal. You’ll need a place you can spread out for some of the pieces of this project.
If you don’t have the space to set up a “permanent” work table, it will help if you create a single location for storing your physical documents. A designated drawer in your file cabinet, a storage bin that slides under your bed, or a file box you can stash in the corner will all do. Invest in some manilla folders so you can file documents and photos by categories. These precious items should live in your home in the same spaces where people live. Don’t stash them in the unheated basement, the attic, or the garage. You will risk damaging your fragile documents.
3. Establish a Consistent File Naming Convention
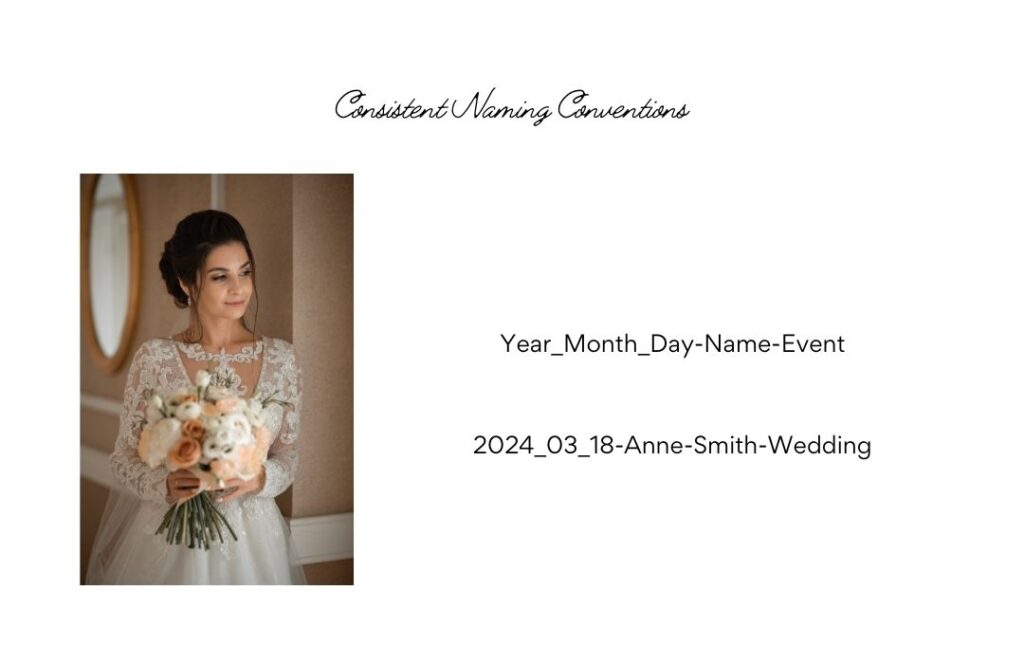
You’ll be amassing a LOT of digital files, so save yourself some stress by being consistent about the way you name your documents. I typically file scanned documents and digitized images chronologically by date. When I’m digitizing a photo, I do my best to include the names of people in the photo as part of the filename. The filename will move with the photo or document, making it a piece of the meta-data breadcrumb that will help future family historians as they download copies of the documents you preserve.
I typically use underscores and hyphens to separate words in my filenames, rather than spaces since some computer systems still don’t handle spaces well. Separating things visually helps humans read the filenames. In the example above, the filename documents the date the photo was taken, the name of the subject, and the event.
4. Choose Filenames That Identify What is in the Document
Another reason to use a consistent naming convention for your files is to simplify finding the right document or photo when you need it without actually opening the file to look at it. If you’ve named it well, you’ll be able to tell what is in the photo just by looking at its filename. Choose a naming convention that works best for you.
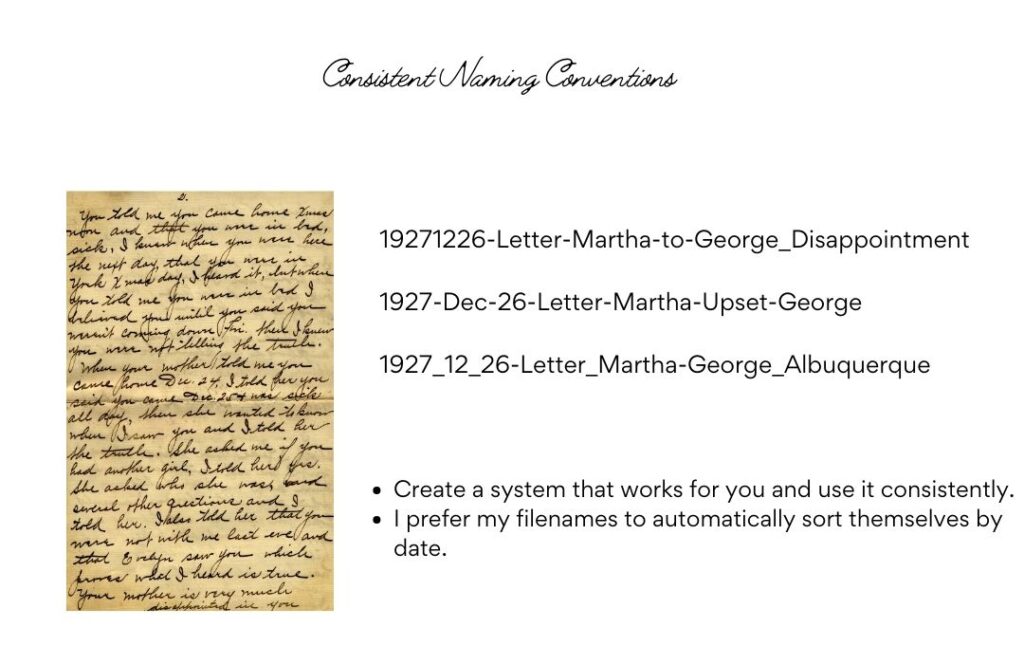
Because your computer sorts file for you alphanumerically, beginning with the date allows for sorting your files chronologically. This is especially helpful when you are working with photos!
1927-Dec-26 may be easier to read than 1927_12_26, but the filename with the abbreviation of the month will not sort chronologically. December comes before July in the alphabet.
For written documents, such as letters, a filename like 1927_12_26-letter_Martha-George_Albuquerque tells me when the letter was written, who wrote the letter, who it was sent to, the subject of the letter, or even the location where it was written. Be creative but brief.
5. Store Completed Work in Archival-Safe Systems

Since you are preserving these documents to outlive you, it makes sense to invest in archival-quality storage materials after you’ve completed your work. If you have storage space, preserve your originals so they will not be damaged by heat, light, pests, water, and humidity. If you suspect your descendants will discard items you feel should be preserved, consider donating them to a local historic society or genealogical library. It’s your job to choose a final resting place for your documents. Don’t pass the chore off to the next generation!
Journal or Make Notes As You Go
A simple notebook is a great place to keep track of your notes. Or, create a journal page and save it in your Main Folder. Refer back to this often to record notes about where you have been and where you are going. Your work may be interrupted again and again, but you’ll always be able to pick up right where you left off if you have journaled a list of tasks to be completed, and where you are at in the workflow.
Establish a Timeline of Your Life’s Most Important Events with a Chronology

A Chronology is an editable table listing each year since your birth, and your approximate age. It can be an invaluable resource for getting your story and your facts straight. As you peruse journals, look at photos, and dig through boxes of memorabilia, watch for hints that will help you document actual dates of important milestones in your life. Record major life events in your chronology as you recall them. You may not know the exact date you dumped your first boyfriend, but you can approximate if you know it happened the week after you graduated from High School. Having factual information at your fingertips will help you organize your stories accurately.
You Can Do it Right So No One Has to Do it Over
Finally, create a system for regularly backing up your work.
- When recording oral history, always include a second recording system in case of disaster (use a digital recorder along with your video camera, for example)
- Back up recordings and videos to an external drive and store copies with a reputable cloud service such as Dropbox as soon as they are complete. Always create a duplicate copy of precious files in case of a hardware failure
- Back up photos to an external drive and to the cloud to prevent loss
- Create a second copy of anything you don’t want to do over, including your final manuscript
If you will adopt and follow some or all of the workflow suggestions above, you will streamline your project. You’ll be more productive. You’ll prevent loss and catastrophic technological failures. You’ll create a hedge against accidentally doing work you forgot you had already done. Most importantly, you’ll be preserving history so that others won’t have to come behind you and re-do what you have done poorly. And now that you are all ready, let’s dive into the actual work of preserving your photos!