
Create an opportunity for celebration with nothing but a box of pancake mix and your imagination.
The Holiday:
Ever since I learned that there was such a thing as National Pancake Day, the first week of March has been the perfect time to turn a gray, cold day into a Playdate-worthy celebration.
One activity that has held on and become a family classic is an annual Pancake Art Day. Supplies are simple. The mess is real. The memories are precious.
Making Your Pancake Art:
I consider this a craft project, not a meal plan. Pancake Art is edible, but it takes time and some patience to create. Just fill plastic squeeze bottles with different colors of pancake mix, then “design” on a cold pancake griddle.
We always start out by watching a couple of YouTube pancake artists creating more intricate designs. This helps children understand the process, including drawing outlines first and then adding successive layers of color.
Supplies You’ll Need For Pancake Art:
- A large pancake spatula
- A non-stick griddle, if possible, or a non-stick pan if you don’t have a griddle
- Pancake mix (any brand should work well)
- Food coloring (gel coloring gives you the most vibrant color)
- Squeeze bottles for piping the pancake mix onto the griddle
Mixing Your Pancake Mix:
Mix a big bowl of pancake batter. You’ll probably need to add a little more water than the package instructions recommend if you are using a commercial mix. Make sure you have beaten out all of the lumps. Use a hand mixer or a whisk, if needed. Pour the plain batter into your squeeze bottles using a funnel, or pour from a measuring cup with a spout edge.
Add several drops of food coloring before replacing the cap on your bottle and let your grandchild shake the bottle (make sure the top is on tight). Watching the color appear is part of the fun!
Pancake Art Tips:
- The pancake batter needs to be lump-free in order for it to flow freely from the squeeze bottles.
- Keep a toothpick nearby to help remove clogs if they happen.
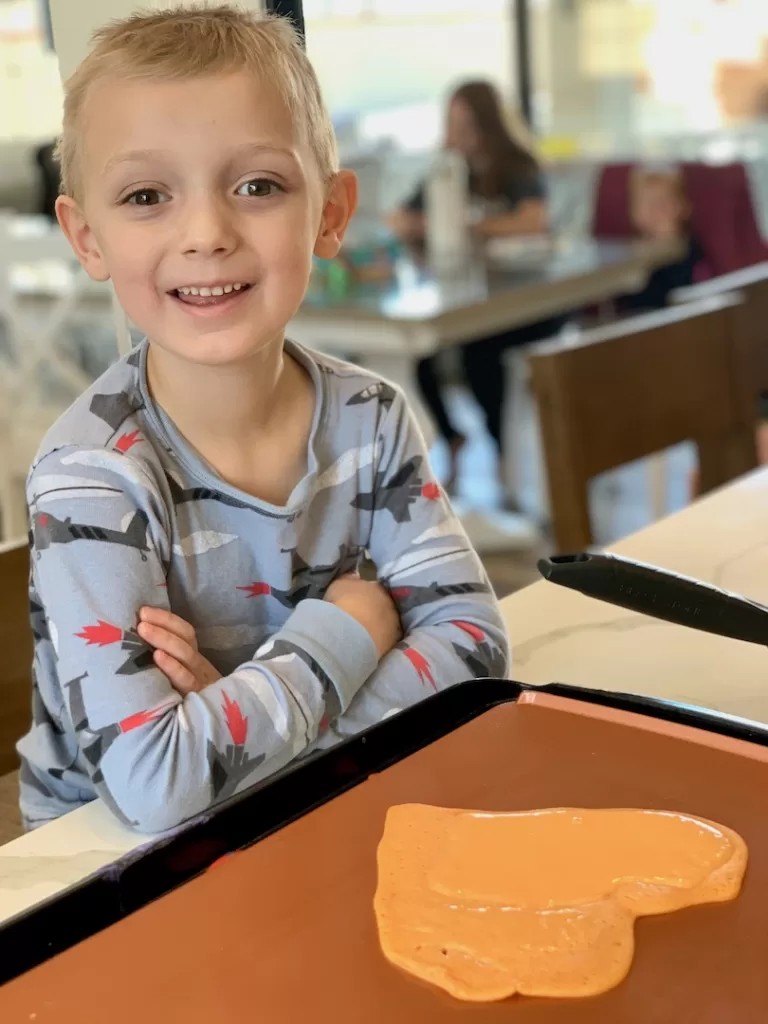
- Start with a cold, greased electric griddle. This eliminates the risk of burned fingers.
- Most young children just want to create colorful designs with squeeze bottles.
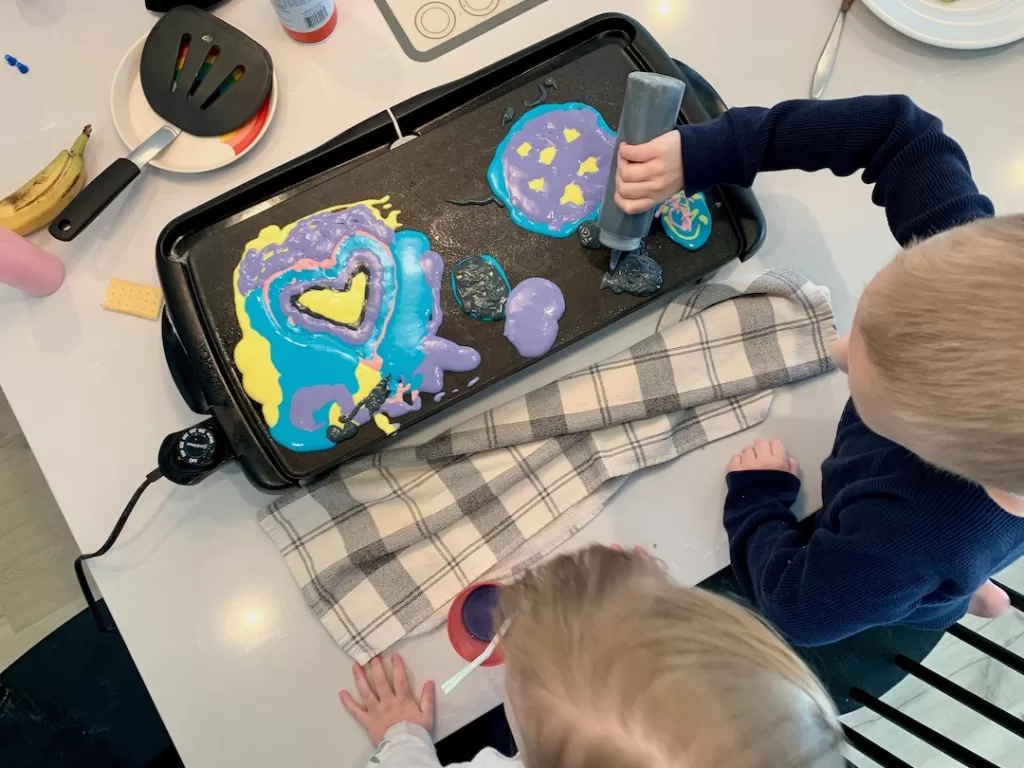
- For older children, try laying down an outline in a dark color first. This gives their design a “fenced boundary” and it works pretty well for more intricate art.
- Next, fill in your outlines “backward.” The colors you draw with first will be on top in your flipped-over design. Write any letters backward, too.
Cooking Your Pancake Art:
- After the artistic creation is on the griddle, heat the griddle up to 200 degrees and wait until bubbles form throughout your pancake.
- Resist the urge to turn the griddle higher to speed up the process. You’ll brown the pancake and it will ruin the colors!
- Once it looks a bit dry around the edges. Loosen the edges with a spatula. Flip your pancake to see the MAGIC (and cook the other side).
Expect Failure:
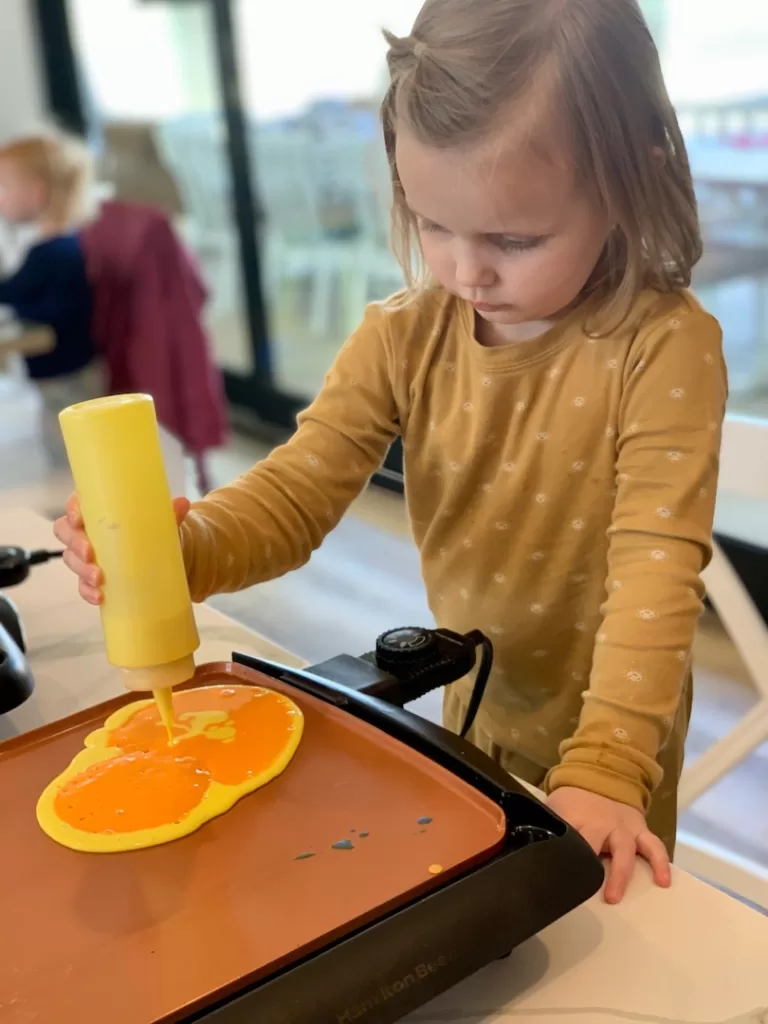
Your first pancake is likely to be a failure. Don’t give up! Let the griddle cool before making your next pancake. You can also lay a kitchen towel over the edge where kids are likely to touch the hot griddle. If you are worried about a young child too close and risking burned fingers, try having her hold the squeeze bottle with an oven mitt or have her hold the bottle while you guide her hand and keep it well away from the hot surface. Keep it simple! Child-driven designs are easy and completely appropriate.
Some Pancake Art History
Many people credit Nathan Shields with being the first true “Pancake Artist.” He’s a stay-at-home Dad and part-time illustrator who loves making pancakes for his kids. One day he shaped a unique pancake with a spoon, posted it on Facebook, and the rest is history. He now uses a squeeze bottle just like you. His children always get to create with him.
Free Pancakes Newsletter:
Find some additional pancake-themed activities appropriate for younger children in this month’s newsletter. Download it here, or click the image below.

