A hilarious picture book and a batch of rainbow bagels are a fun way to learn some color science.
Share This Post
A hilarious picture book and a batch of rainbow bagels are a fun way to learn some color science.
My daughter was an teenager before she really grasped the concepts of “left” and “right.” To this day, when we tease her about it, her only explanation is that she was absent on the day in second grade when everyone learned to distinguish their left hand from their right hand by holding both hands up to see which one makes an L shape between the thumb and index finger (L=left hand). She has been directionally challenged ever since.
I have realized that I was absent on the day many things were taught, and my favorite thing about being a grandparent is that I have a second chance now to learn so many interesting concepts I never understood as a youngster.
I was absent (or distracted, or just not listening) the day some teacher, somewhere, attempted to teach me about color theory. Consequently, I am a grandmother who has only recently begun to comprehend the fascinating science of color.
I’ve invented multiple playdates as I’ve tried to master this concept. My secret hope is that someday, I’ll be able to pick out a skirt that coordinates well with my blouse without asking someone for advice.
My color science playdates have been some of my favorites, and watching the concepts “click” with my grandchildren has been so much fun!
One of the first ideas we play around with is the science of color mixing.
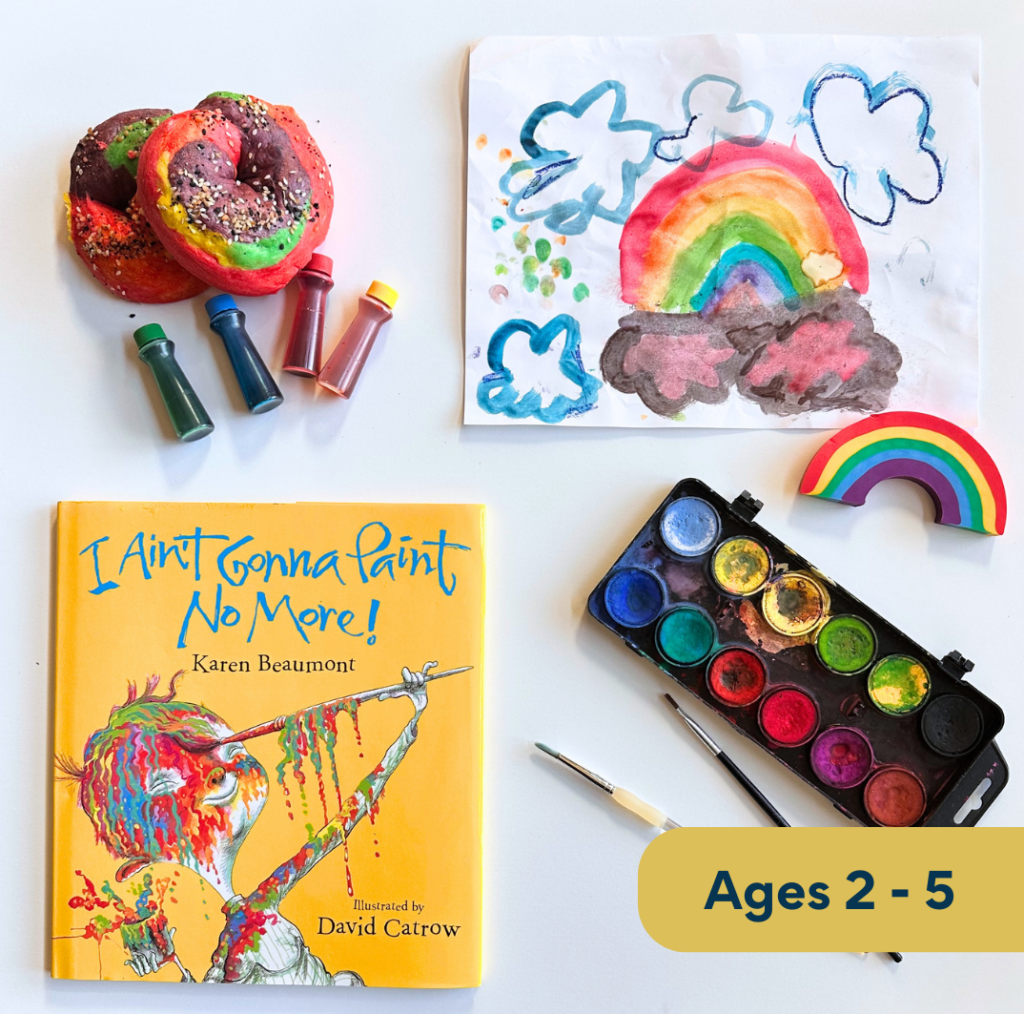
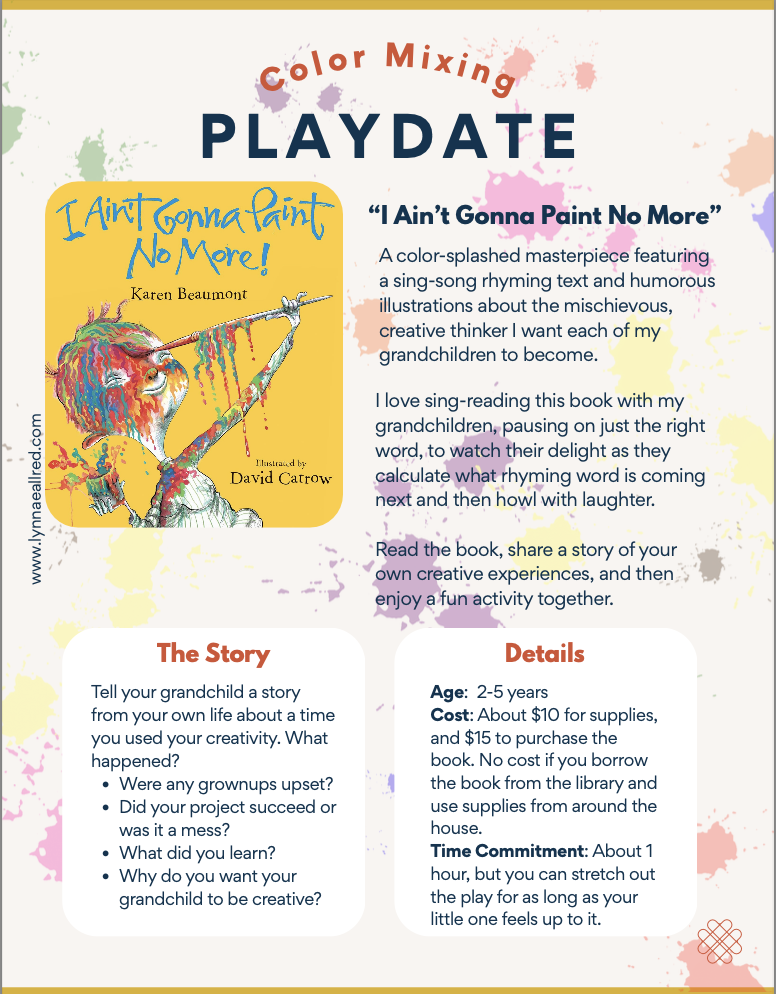
We start with the very fun book, I Ain’t Gonna Paint No More, by Karen Beaumont, with hilarious illustrations by David Catrow.
This book is fun because it’s “singable.” If you have ever heard the song, “It Ain’t Gonna Rain No More,” you know the tune you can sing as you fill in the words from this book. I love to pause at the end of each phrase and let my grandchildren fill in the missing rhyming words before turning the page. For example:
“So I take some red and I paint my…”
Then you turn the page, and using the cues in the book, your grandchild will shout, “Head!”
“Aw what the heck! Gonna paint my…”
And your grandchild will look at the illustrations and know the correct answer is, “Neck!”
Color Mixing Activities
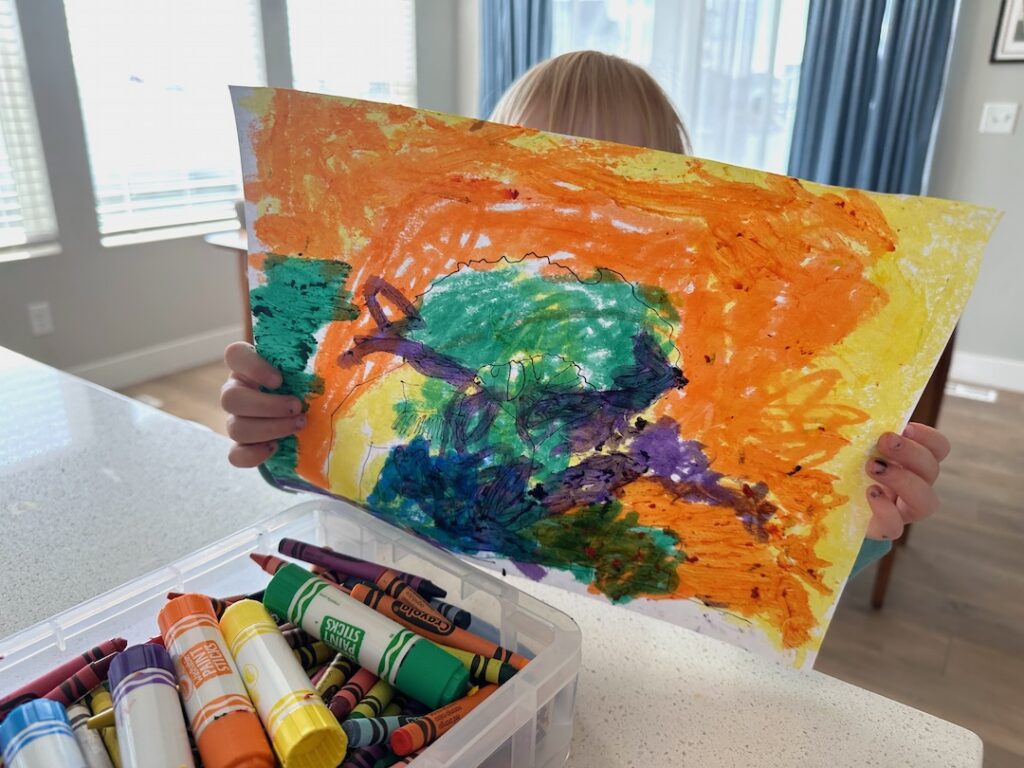
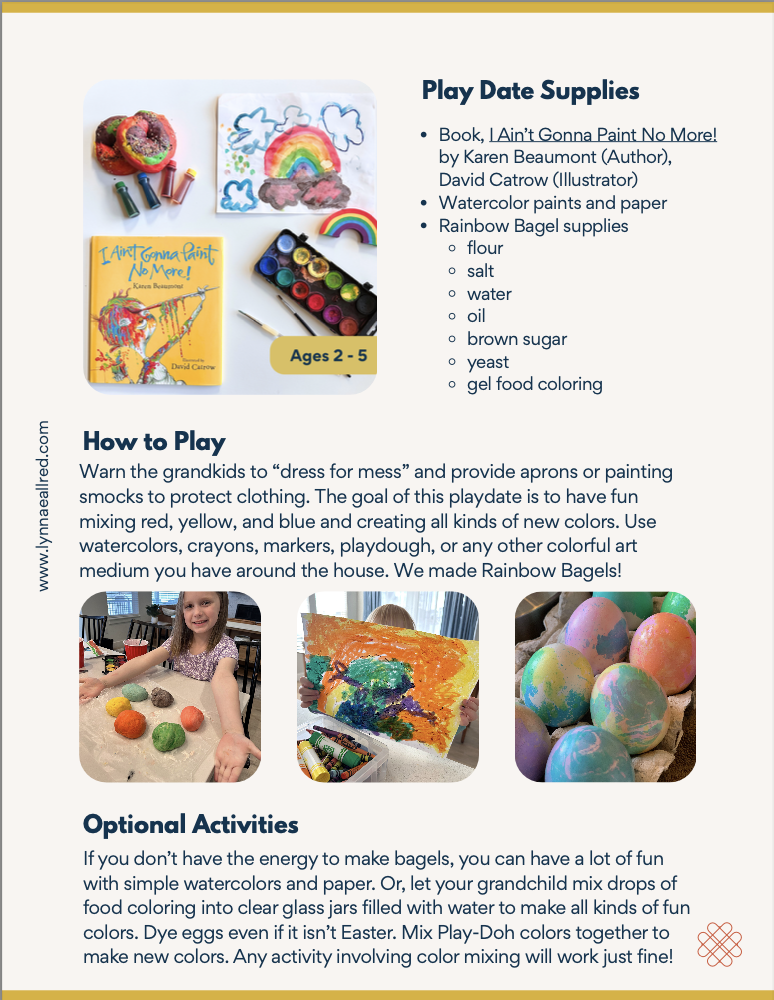
Once you have finished the book, it’s time to make a painted mess of your own. I love simple watercolor paints for this project. Squirt the watercolors with a mist of water to help the grandkids soak up vibrant color on their paintbrushes, and let them create.
The goal of this playdate is to have fun mixing red, yellow, and blue and creating all kinds of new colors. Use watercolors, crayons, markers, playdough, or any other colorful art medium you have around the house. You can mesmerize a preschooler by adding drops of food coloring to a clear glass jar of water. Watching the colors swirl and blend is like magic for a youngster this age.
Dye eggs even if it isn’t Easter. Mix Play-Doh colors together to make new colors. Any activity involving color mixing will work just fine!
One of my favorite art mediums for preschoolers is solid tempera paint sticks. The color paints on in vibrant hues, but dries immediately, so this form of “painting” is virtually mess-free.
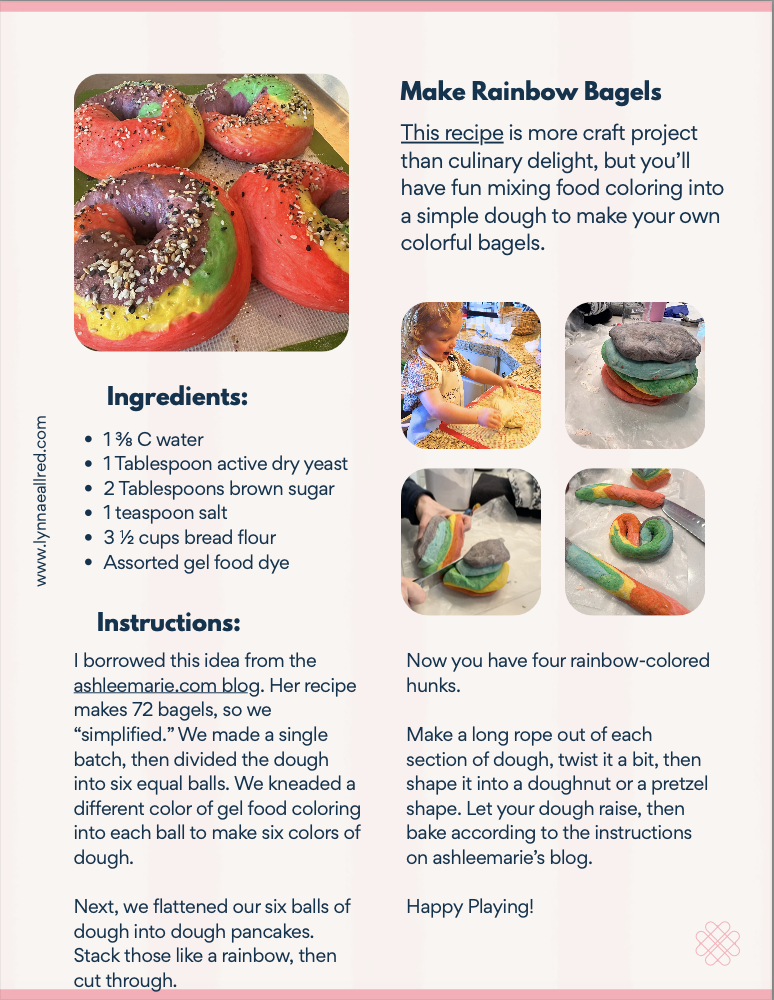
Rainbow Bagels:
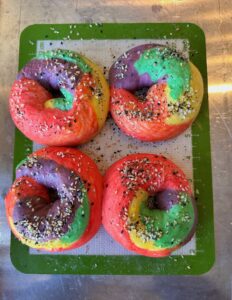
Another fun color mixing activity we like is making rainbow bagels.
I modified a recipe from the Ashleemarie.com website for our playdate. But instead of making a batch of dough for each color as she recommends, we made a single batch of plain dough with no color.
Not all kids love getting their hands sticky, but most will tolerate it if they are mixing dough by hand.
Next, I divided the dough into six portions. One at a time, we added a few drops of food coloring gel to each ball. You’ll probably want food-safe gloves for this. After they added the color and Grandma had given the dough a few good stretches, the grandkids took over, kneading each ball until the color fully mixed into the dough.
Note: this process can be sticky and laborious. Don’t give up too quickly. I didn’t want the kids going home with stained hands, and they had trouble managing sticky bread dough while wearing gloves. Our solution was that I used gloves and kneaded each ball for about a minute before handing it over to one of the kids. By then, the stretching and mixing of the dough made it more manageable, and the coloring was mixed well enough that it didn’t stain fingers.
To knead the dough, just press the ball against the counter, fold it in half, and press again. Repeat this over and over until your colors mix well.
Once the colors started to mix, I could hand over the dough to one of the kids to finish the mixing process.
The grandkids can help you decide which combinations of primary colors of food coloring to add to each ball so that the resulting color is different every time.
Ingredients:
Dough Instructions:
1 3/8 cups warm water
1 Tablespoon active dry yeast
2Tablespoonssugar
1teaspoonsalt
3 1/2 cups flour
Gel food dye (gel food coloring will give you the most vibrant color).
Mix the yeast with the warm water and sugar and wait a few minutes for the yeast to bloom.
Stir in the salt and flour and mix well.
Divide the dough into six equal portions and knead lightly until the dough forms a ball.
Flatten each ball and add a few drops of food coloring on top. Then knead well until the color mixes in.
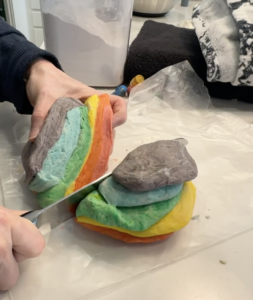
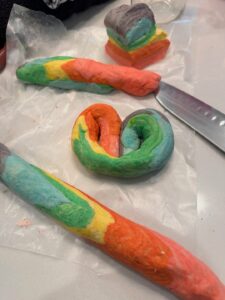
Once you have made all six colors of dough, flatten each one into a pancake, and stack them on top of one another in any order you prefer. We stacked ours in rainbow order. Next, cut through the entire stack, and then cut each half again to make four equal portions.
Flatten each 1/4 of your pancake stack into a long dough worm, and then shape it into a circle for a bagel, or twist it into a pretzel shape if you prefer. We brushed ours with an egg wash and sprinkled on “everything but the bagel” seasoning. Place on a piece of parchment paper or a silicone mat to raise, then bake at 375 degrees for 15-20 minutes, or until lightly browned. You may want to cover your bagels lightly with a piece of foil to prevent too much browning.
These are an art project more than a culinary masterpiece, but if you have some cream cheese or honey butter on hand, that will add flavor. You can also make a bagel sandwich and add your favorite sandwich fillings.
Now that we have had a little practice with mixing basic colors (red + blue=purple, yellow+blue=green), we are ready for even more adventurous color science, including understanding how the color wheel works, and so much more! Stay tuned for more color science adventures!