You’ve gathered 50 album-worthy photos of yourself. Now It’s time to preserve them so they will still exist 100 years from now.
(Remember, 50 photos is an arbitrary number. But it will give you the start you need to understand the process of preserving your most important photographs).
Where possible, we’re going to make these archival-quality prints and files, because we are preserving this history to outlive us. We will take the time to document the meta-information for each photo. To increase the chances that my family will have access to these photos for the next few generations, I’ll make three copies of each of them and back them up in different ways. This improves the likelihood that they will survive a house fire, a burglary, a hard drive crash, a flood, an electromagnetic pulse, or even a nasty divorce.
If your photos are important to you and your time is limited, you may want to consider outsourcing the larger process of organizing all of your photos to a professional, but I want you to understand the process, so we are going to archive just 50 photos of you and keep this manageable for the sake of this Personal History.
NOTE: On average, clients put about 100 photos into a 100-page Personal History. That number includes photos of other family members.
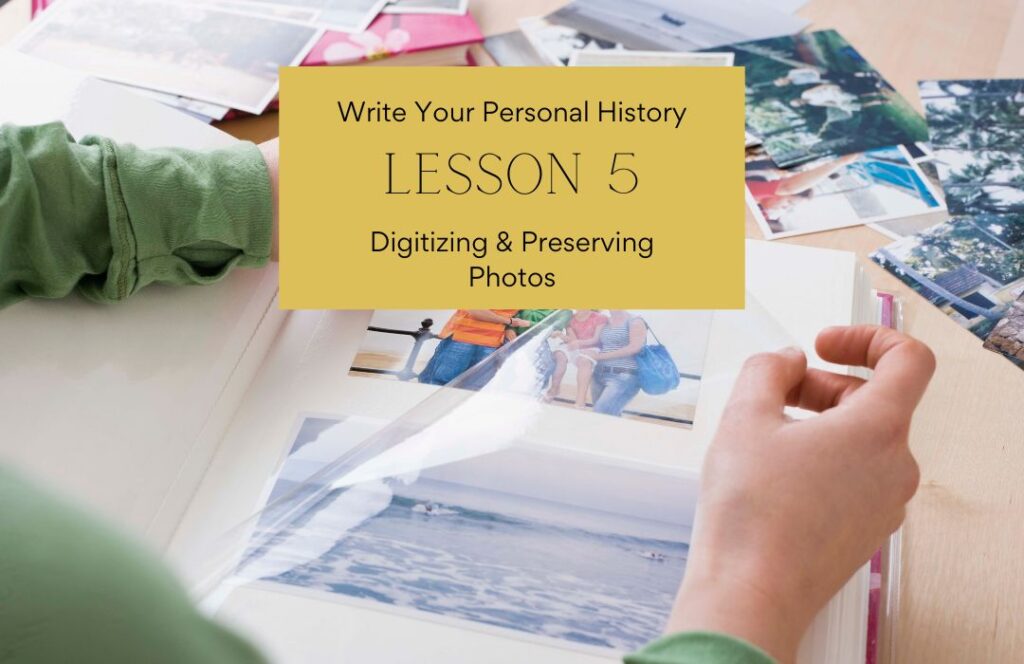
Preserving Your 50 Photos to Outlive You
The process will look like this:
- Make digital copies of each of your photos that currently exist only as analog prints (prints from film)
- Order quality prints of each photo that only exists in digital form
- Add meta-data to both your digital and printed photos to identify people, dates, and locations as accurately as you can
- Make a backup copy of your digital files
- Store your backup copy offsite (away from your home) and/or in the cloud
- Shop around for a “permanent” storage solution for your digital photographs—one your descendants will be able to access
- Store your printed photos in archival-quality protective sleeves in a photo album that will live in a spot in your home where it is protected from heat, water, and pests
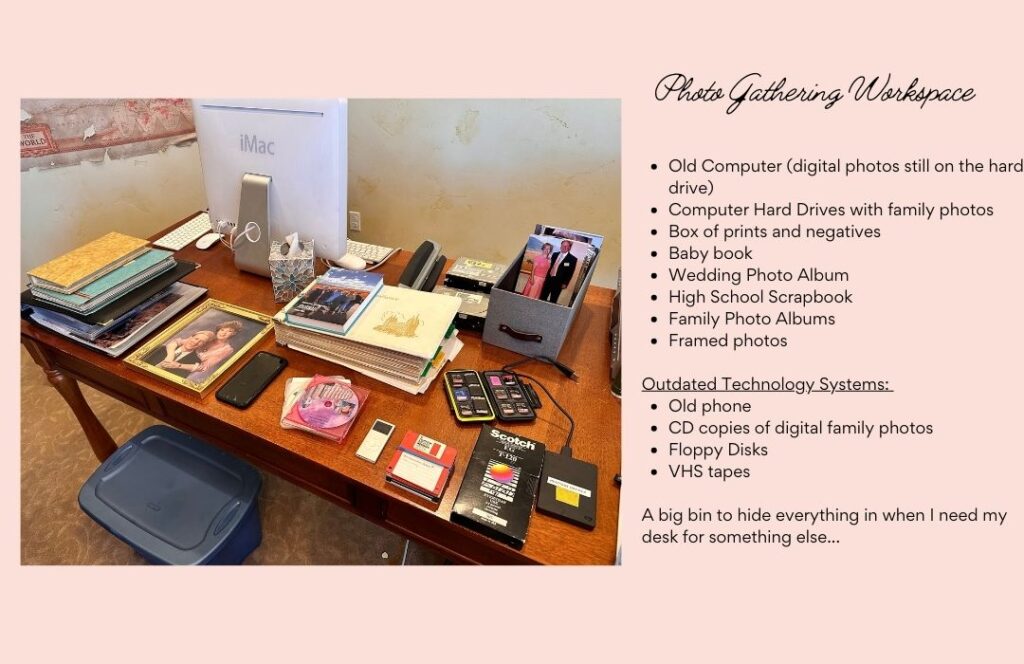
Here’s what my workspace looked like after I started gathering my stored photos from their secret hiding places. I’ll need to scrounge through old scrapbooks, computer files, and disks to find my 50 favorite photos of myself.
For printed photos that are sitting around in disorganized storage boxes, I’ll employ the A, B, C, sorting method to help the work move fast:
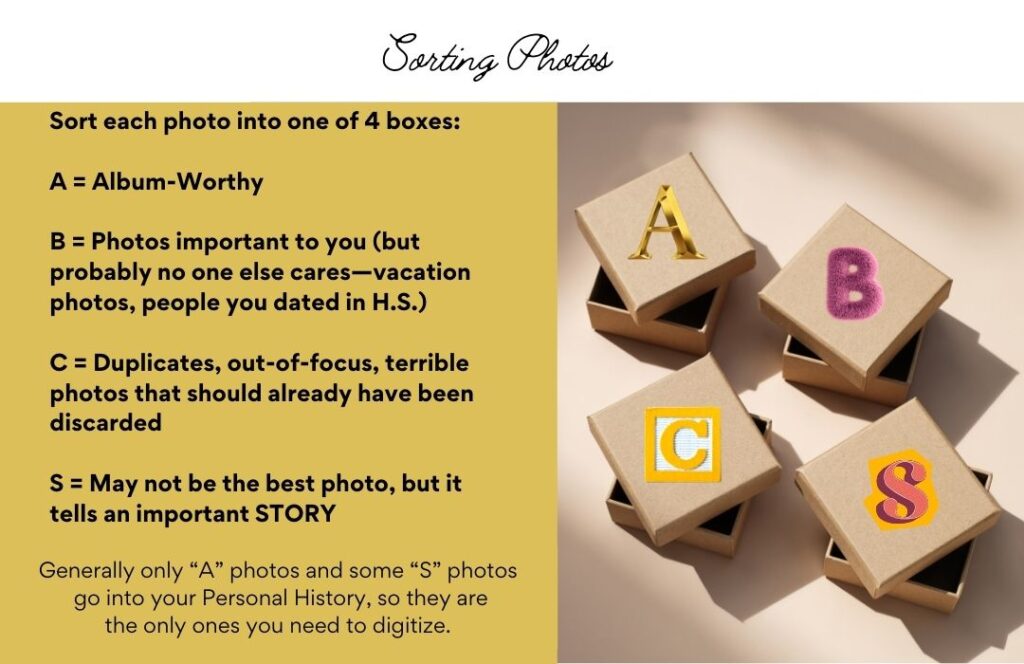
A = Album
The cool thing about album-worthy photos is that they are usually already in albums! I’ll probably find most of my 50 photos by starting with the ones I cared enough to enlarge and store in an album for safekeeping.
B = Box
You can leave these in the box. Give your kids permission to throw the B box away after you die.
C = Chuck
The blurry duplicates of the dog, the soccer game with nothing interesting going on, the photo of the gas bill. You get to throw these in the garbage can. They are the detritus of the organizing work you should already have done but haven’t.
S=Story
These are the photos that tell an interesting story or bring back a precious memory, regardless of their condition.
You’ll only need to consider the A-photos and the S-photos for your Personal History. That simplifies things!
Now that we have found the best photos of you, let’s digitize them!
Task 1: Make Digital Copies of Each of your Printed Photos
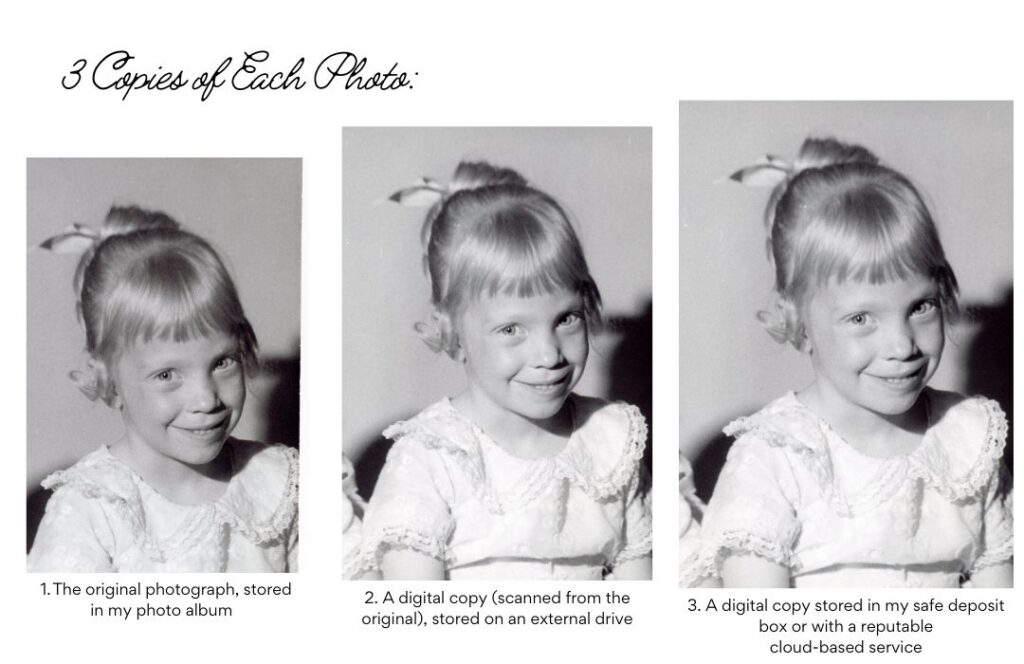
Photo Organization Gurus will tell you to use the 3, 2, 1 method for preserving photographs, and I think this method serves most people well:
- 3 separate copies
- 2 different media (for example, 2 identical copies of your computer’s hard drive; 2 external hard drives, two different thumb drives)
- 1 copy in another location (for example: a backup copy stored with a trusted family member to protect against loss due to a natural disaster, a hard drive in a safe deposit box, or a location in the Cloud).
Digitizing your Printed Photos
Remember that you are making archival-quality copies of these 50 photos. Scan at a minimum of 600 dpi (dots per inch).
- You can outsource this job to a professional service. If you still have the negatives, scanning from netagives often produces even better quality than scanning from prints. Professional services do a great job and are typically worth the investment.
- Camera scanning also produces quality photographs. You can visit a genealogical library or FamilySearch Center and get help scanning your photos free of charge. (Don’t forget a thumb drive or external drive).
- You can rent or purchase a scanner and scan them yourself. If you are scanning photos yourself, take some time to learn about scanners and scanning quality.
- DO NOT scan your photos with your phone. At this writing, phone scanning apps do not produce images with high enough quality for printing.
Remember: You’ll need high-resolution photos to get clear, crisp images in a printed book.
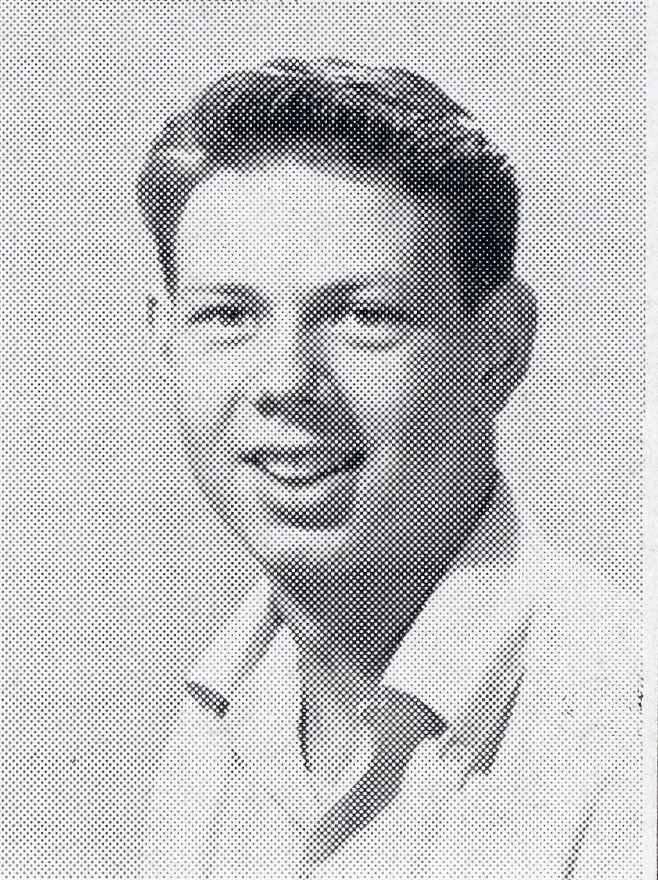
The image above was scanned from a yearbook printed in the 1950s. You can see “dots per inch.” This photo won’t print well in a published book.
Task 2: Make printed photos of your favorite digital photos
You may find this step is overkill and you prefer to avoid the “hassle” of printing out your digital photos. But I think a single album with some of your very favorite album-worthy photos of yourself will be a treasure for your family. Historic photos of your great-grandmother exist because they were printed and you don’t need any technology except your eyeballs to see and appreciate them. You are as cool as she was, so consider doing this work for yourself.
Task 3: Add meta-data to your images
A good photo archivist will leave breadcrumbs of information called “meta-data” so that future generations don’t have the problem of having no idea who is in the photo. At the very least, give the image a new filename that explains something about the photo. Include names of people in the image, the date the image was taken, and the location if you know it. Future family historians will bless you!
Task 4: Make backups of all of your hard work
Now that you have gone to all of the work to preserve these images, we want to hedge our bets and make enough backup copies that the likelihood that they will survive increases. This is where that 3,2,1 process comes in.
For your 50 best photos, consider these options as you make 3 copies of each photo:
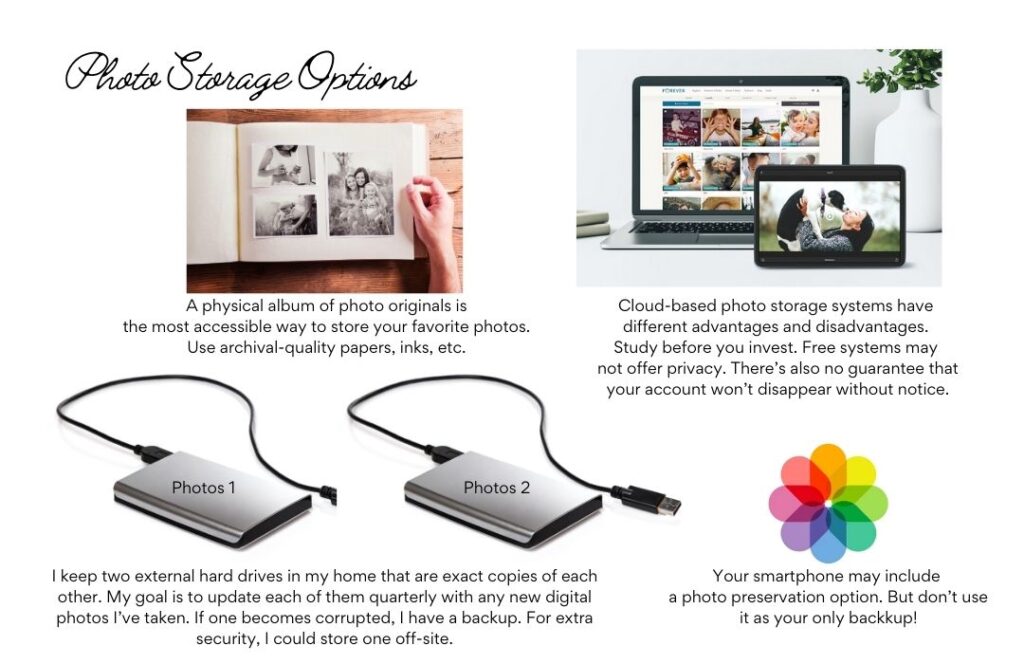
- Copy #1: A high-quality print version of each photo (I plan to print 8×10 or 5×7 copies of each of my 50 best photos to store in an album in my home. I’ll consider having some of the best photos printed professionally in black and white, since we know black and white images do not degrade as fast as color images do (this is black and white processed film, not digital ink from your favorite department store–there’s a difference).
- Copy #2: A high-quality digital version (600 dpi or better), stored in my own home for easy access, but backed up to a second external drive in case the first becomes corrupted.
- Copy #3: A digital version stored in the cloud or on a cloud-based service. (Access is shared with trusted family members).
Tasks #5-6: Store your backup copy offsite (away from your home) and/or in the cloud
I simplified this process by purchasing storage space with a reputable photo organization company that guarantees my photos will be safe, stored privately, and upgraded with each new technological improvement for the duration of my lifespan plus 100 years.
I’ll also consider archiving a few of my photos with a genealogical site such as FamilySearch.org so they can be preserved and linked to my other family members’ historical information.
So to recap, your assignment for this week is to preserve 50 great photos of yourself using the 3, 2, 1 process. Once you understand the process for your photos, you’ll have a better feel for how many additional photos you want to preserve for your family, and whether you want to do it yourself or hire a pro to help.